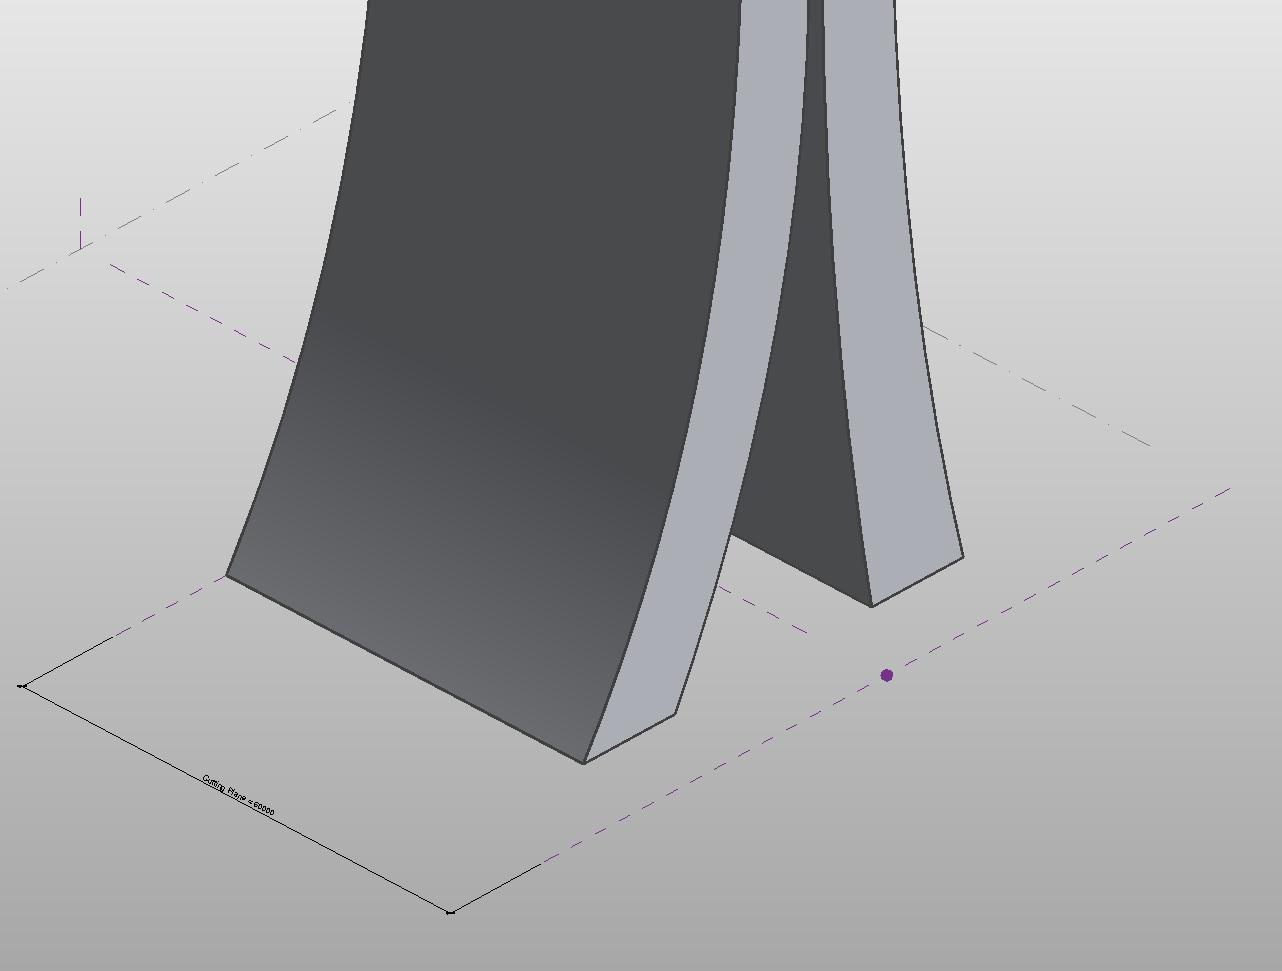
I came to Singapore in 2007 to work on the Marina Bay Sands project. The building was designed by Moshe Safdie and Associates. Moshe assembled a very talented and dedicated team of designers to put all the pieces together. The design for the forms was done in late 2006 into 2007 using Rhino, 3D Max and Maya. At the time, Revit had yet to introduce the conceptual massing environment. I've often wondered what the process for generating these forms would have been like had it been done using the more recent capabilities of Revit. So i did some studying...
Let me be clear at the outset that i don't intend to get these exactly right. I know there was considerable effort, deliberate nuance and extraordinary care that went into the development of this design. My intention is to use the forms as examples for a lesson in how we can use Revit's conceptual massing in the form-finding process.
Part 2: The Sky Park
Also known as "The Boat on top of the Hotels" or "The Surfboard". call it what you want, but this guy was simpler to put together than the hotel forms, that's for sure!
So what we have here is an extrusion along a path with a rounded, long nose and an abrupt tush. Because the extrusion is dynamic at the ends, the profile i use to make the extrusion will need to change in a controlled manner. This is a really great example of how reporting parameters and adaptive geometry work together. We can do this. First thing is to figure out the section we are going to extrude.
looks like half an ellipse to me. I'll open a new family using the 'Genric Model Adaptive" template. Then i host half an ellipse on the adaptive point like so:
The "W" and "D" constraints control the line-work of the ellipse. However there is also a constraint called "Width_R". This is a reporting parameter tied to the Shape Handle point on right. This Shape Handle Point is hosted on the same reference plane as the ellipse, and is also constrained to the XY plane.
Let me explain the parameters here:
"Width_Typ" is the typical desired width of the Boat. Though not directly controlling the profile, this number will be used in a formula to drive the depth of the ellipse as it reduces at the nose and tush.
"Width_R" is the reporting parameter between the Adaptive Point and the Shape Handle Point. This will directly drive the width of the ellispe.
"W" is the constraint on the width of the ellipse generated by the autosektch dimension when the linework is initially drawn.
"Depth_Typ" is the desired depth of the form in its typical configuration. This again won't directly drive geometry but is fundamental in the formula for..
"D" which does control the depth of the ellipse but is driven by a formula which will reduce the depth of form at the same rate as it is being reduced in width.
With this done, we can construct the geometry, beginning with the arc for the mid-section. I'm a fussy guy. I like to make 2 arcs off of a primary reference plane. I think this makes it easier to align the geometry i've created when i insert it to the project later.
Next up i will add an inner arc representing 1/2 the width of the form, nest in my profile, and wire up some formulas.
Select my profile and the path and I'm 1/3rd of the way home.
Getting the nose done is a more complex operation.
First I added an ordinary Reference Point to be placed at the end of the center arc. Upon this point, i hosted half an ellipse and a straight line.
I added constraints related to the width of The Boat and the length of the nose.
I hosted my profile on the straight line and made sure it was at the 0.0 beginning of the line.
Copied it at intervals along the line, decreasing the interval at the end with the final profile at 0.9999
Picked the profiles to create form and voila!
Tip of the nose looks round enough for this exercise
And the boat is starting to come together
This is not a posterior that would excite Sir Mix-A-Lot. Kind of flat. To avoid a bunch of Trig while maintaining the parametric disposition of this exercise, I'll just do it as a 3-point curve. Again i host a reference point at the end of the center arc. The 3 points shown all have offsets linked to parameters.
Same straight line as at the nose:
Again i spread out my profiles incrementally
And I'm on a boat...
Have some parameters
Its a big blue watery roll.....


